Monday, 26 February 2024

Tales from the Dark Side

 Following on from the Millennium Falcon, my next small scale Star Wars build was this:

The "iconic" Sith Infiltrator. I reckon that it had about 15 seconds of screen time so I'm not sure how it could be considered iconic. Anyway, it was a simple enough build but nicely detailed. It even has a fully detailed cockpit with Darth Maul pilot that then gets sealed and completely concealed by the hull so it is a waste of time to paint. I still painted it, of course.

The official colour scheme contrasts a very light grey with a much darker one. I wasn't happy with that so I have toned down the lighter sections on mine:


Here it is side by side with the Falcon. The Falcon is 1/241 whereas the Infiltrator is 1/257 but they sit together well enough. And again, sort of 6mm scale.

I mentioned in a previous post that, following an American War of Independence game, I had a notion to make a certain Hessian mercenary. A few weapon swaps with some Irregular Vikings and I came up with these:

The Hessian in life. I thought that he would look better on a white horse.

The Headless Horseman of Sleepy Hollow! Not sure how I would squeeze him into a game but he was a fun and quick little conversion.

The main gaming focus at the moment is on the Crisis Point weekend on 6-7 April. M'colleague Neil & I will be putting on a CWC2 game set in the fictional Soviet invasion of Czechoslovakia in 1948, the excellent campaign thought up by Richard Crawley and the basis of our games at Joy of Six last year. I thought that Bohemia in 1948 would look a bit battle scarred so, while waiting for a big Heroics & Ros order to arrive, I've been making a few terrain pieces.

A ruined farm, using Timecast buildings. I actually made this in 2010 and it has sat on my workstation since so I'm glad I finally got the ruddy thing done and out of the way.

An abandoned graveyard. Walls are Timecast, the graves a mix of Leven and Perfect Six. Plus a lot of flock and static grass.

Finally, a ruined church, a Battlescale sculpt. I tried to paint it to look like sandstone but don't think I've quite got there.

It's a nice scuplt though, with little details like this dismounted bell from the tower.

Next up will be a lot of tanks and mix & match kit for the postwar, pre revolution Czech army.

Tuesday, 16 January 2024

Autumnwatch

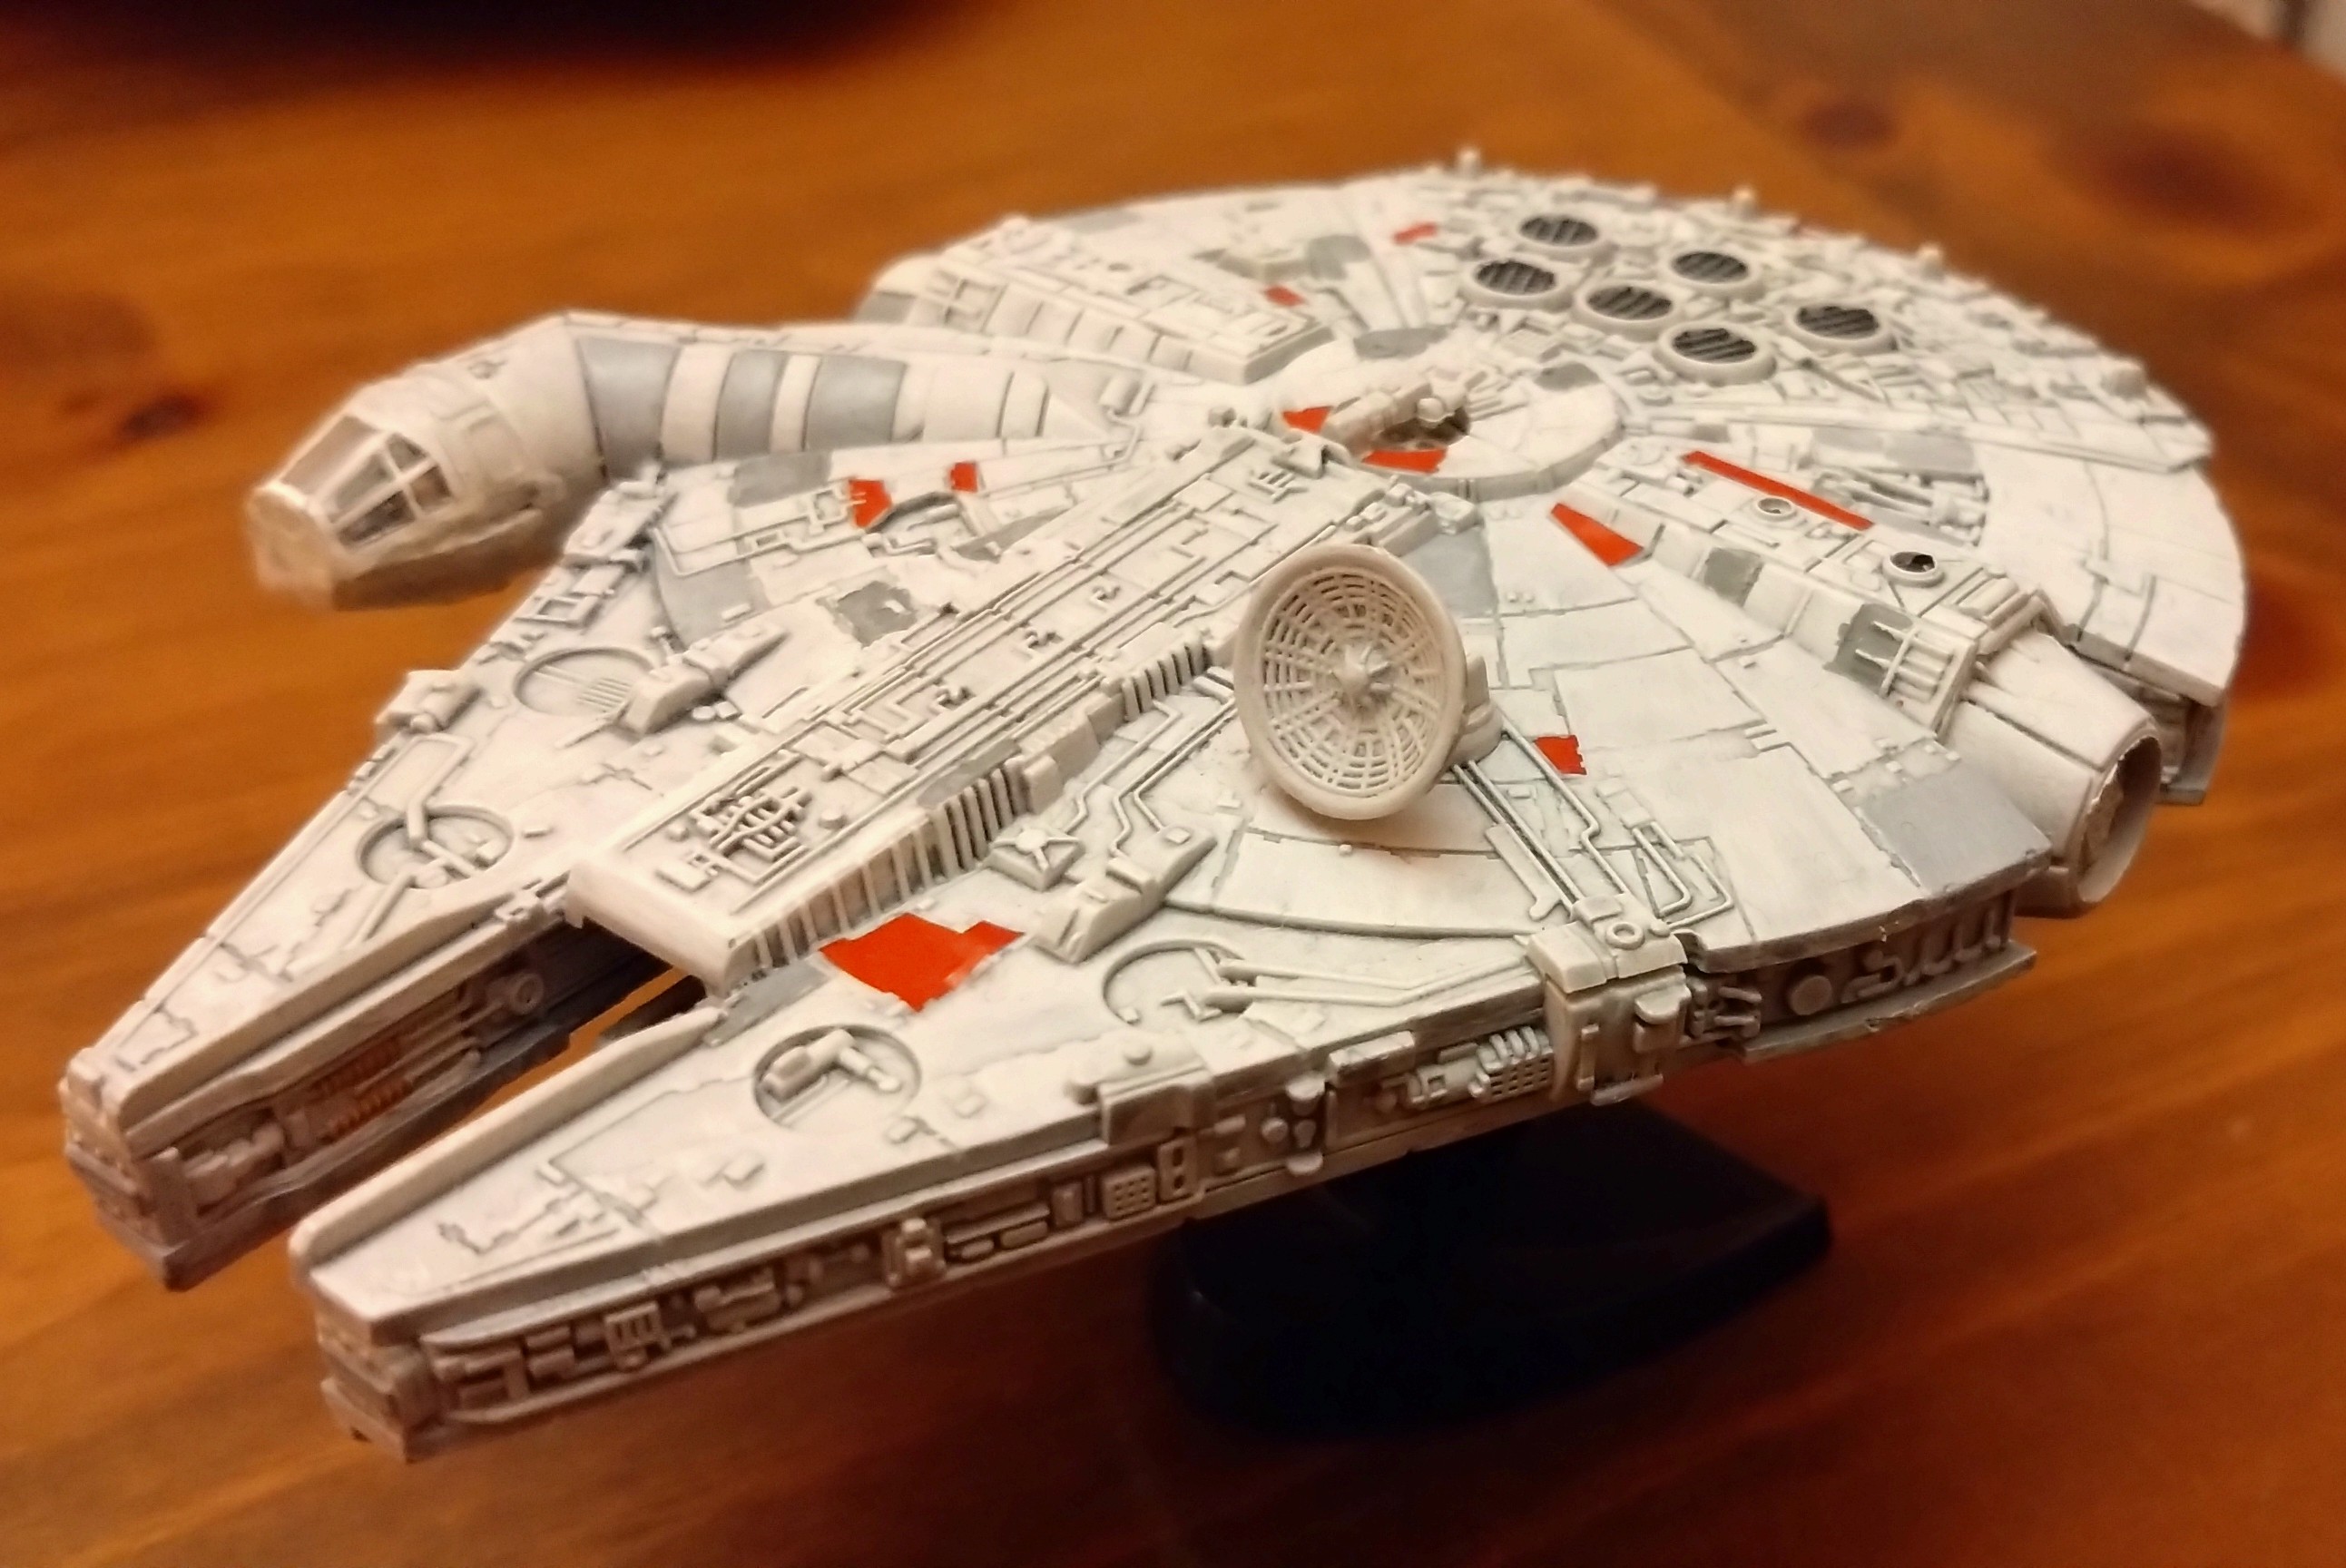
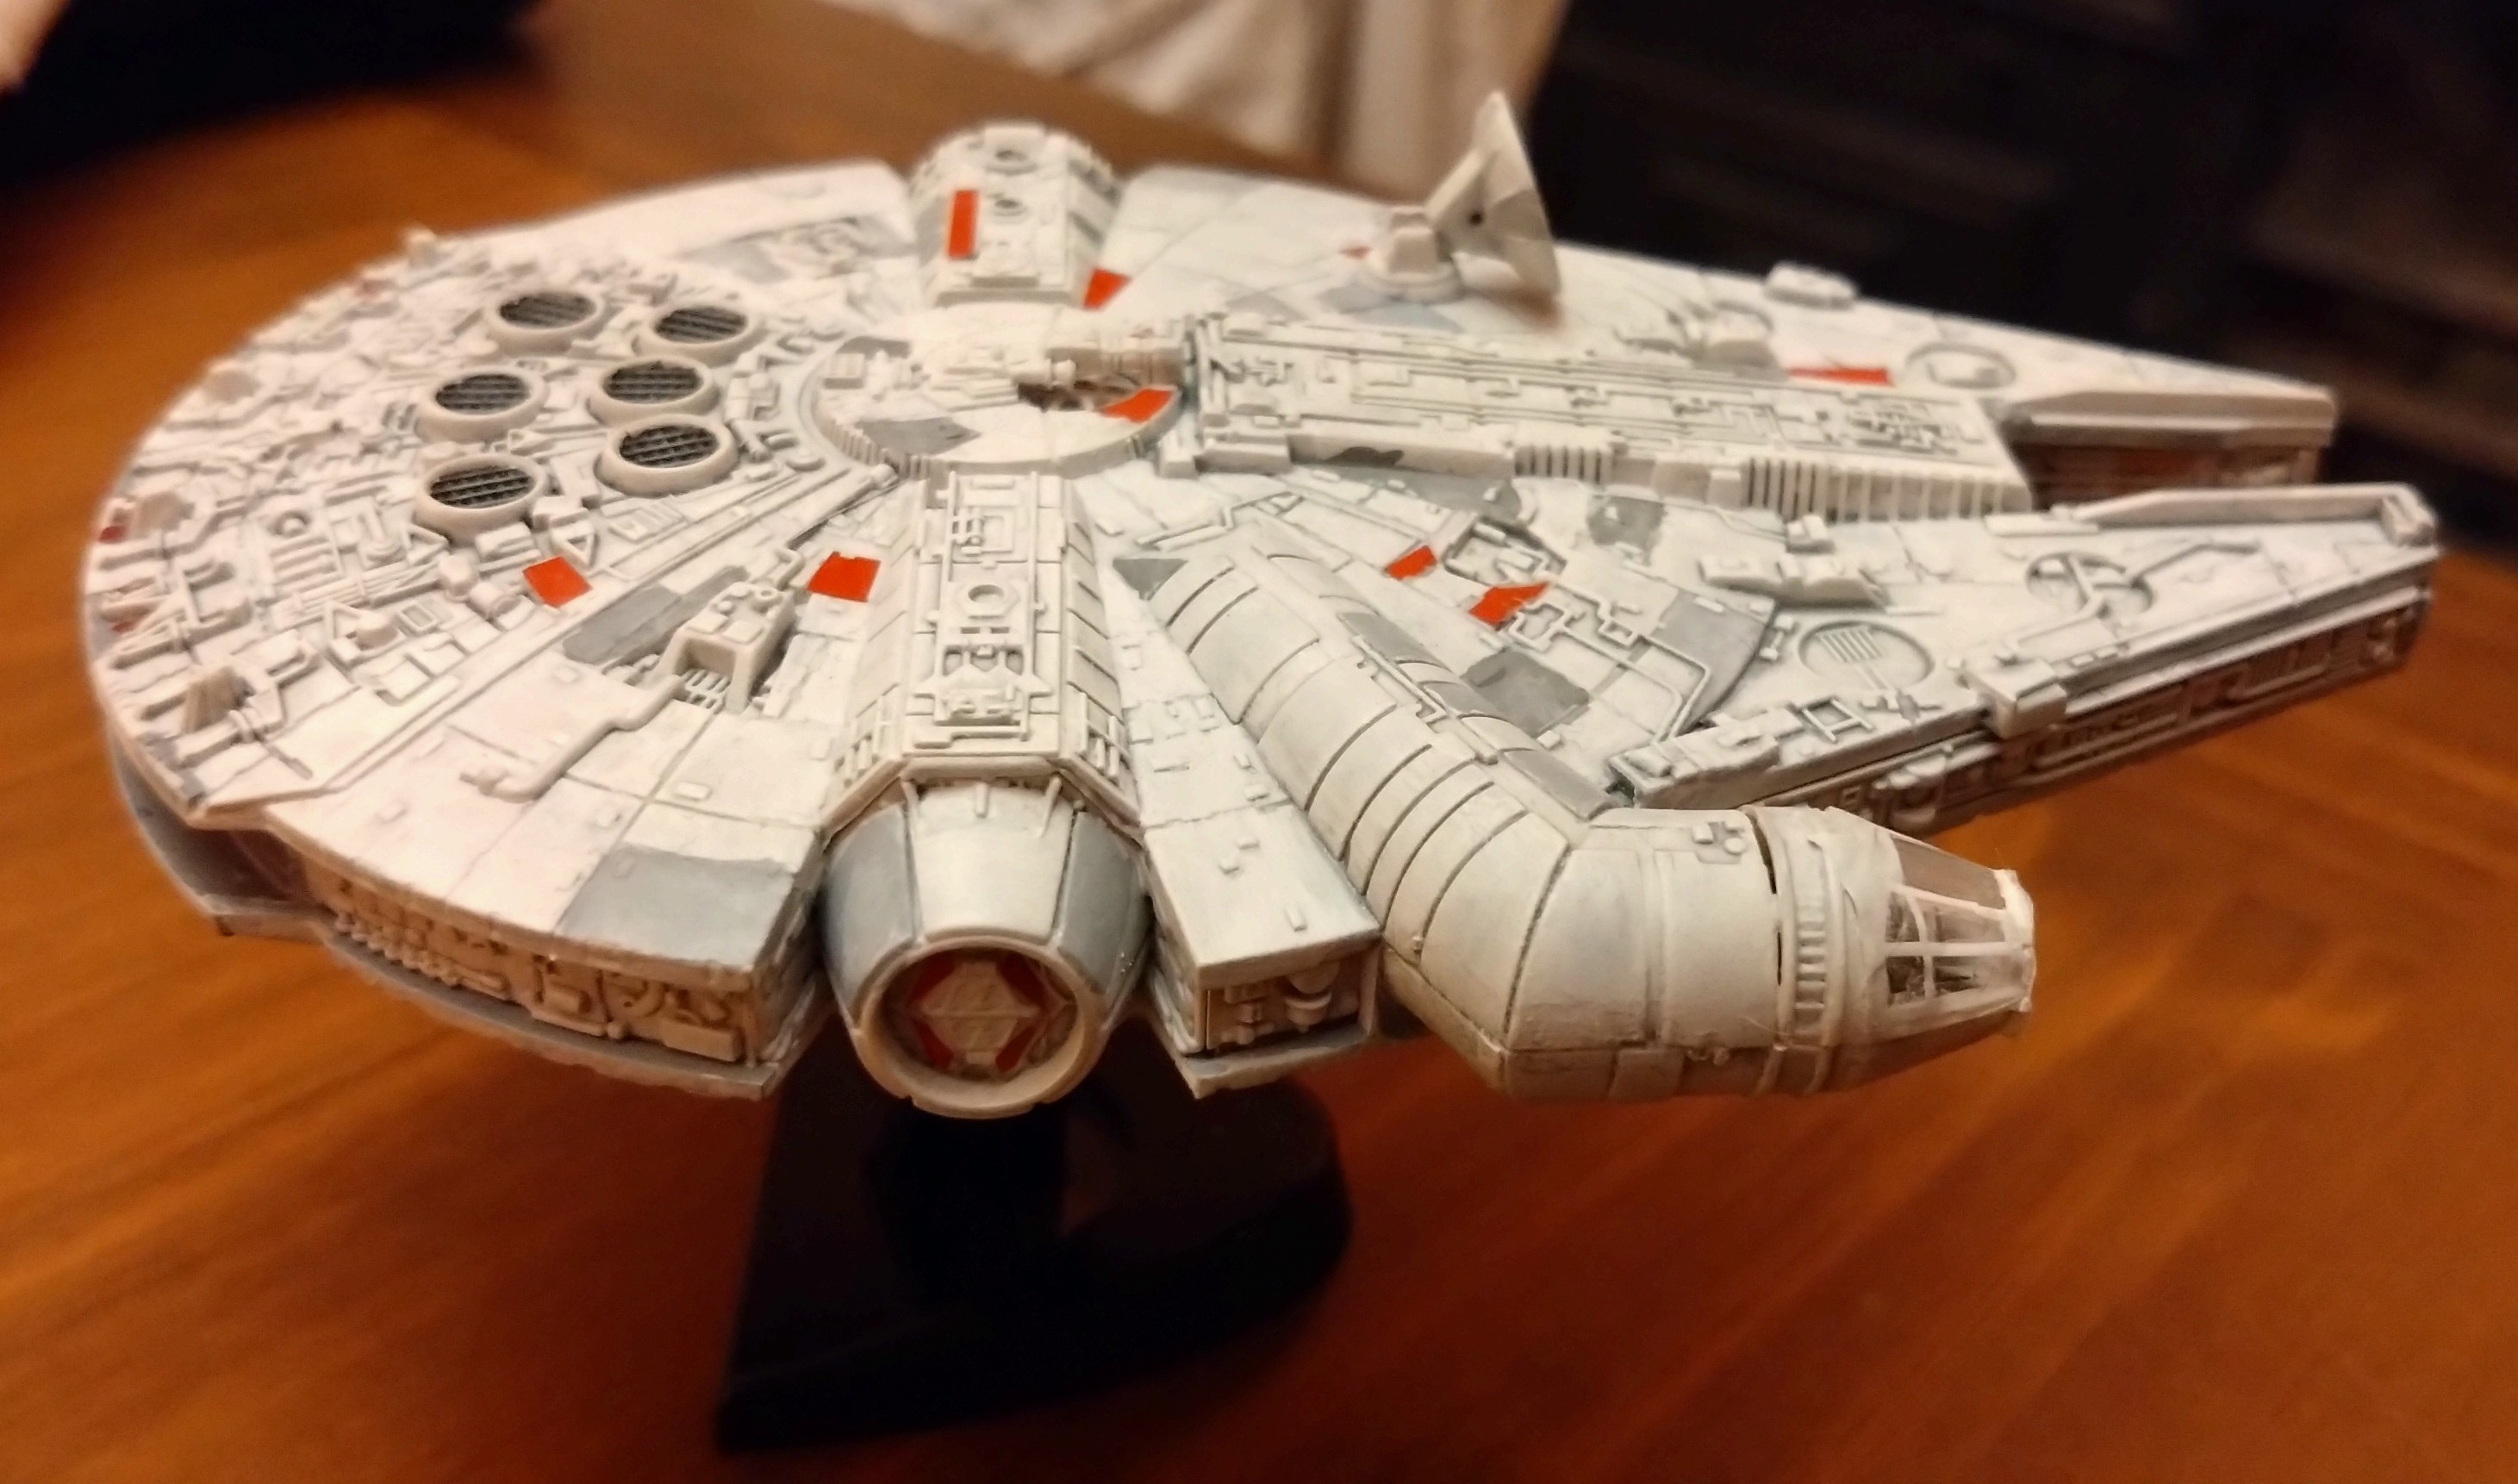
 Usually I spend January to September painting stuff for armies and then the autumn on any other stuff that takes my fancy. My main project for the autumn was a 1/241 Millennium Falcon kit from Revell:


As kit it was quite simple to construct. The painting took a while though:


I used a variety of Humbrol and Revell pale greys and a wash of Citadel contrast white, with a little bit of drybrushing to finish. On the whole it was a fun little kit but the cockpit canopy caused me some issues. The canopy doesn't quite fit properly and then the transfers don't quite fit. I actually stuck my thumb on them and ruined them, then had to order a new set. I eventually got them to stick with the liberal application of Vallejo decal fix, which unfortunately dried a bit misty.

1/241 is sort of 6mm isn't it? It would have been nice if there was a landed option. I imagine that a more skilled modeller than me could cut the loading ramp out and scratch build some landing gear if they wanted.

While shit scrolling through t'internet I came across a reference to the (postwar) Luftwaffe operating a few Canberras. Intrigued, I searched for them and found this:

It turns out that they had 3 of them. Packed with lots of sensitive electronic equipment, they would fly up and down the Inner German Border. Conducting research. Meteorological stuff, that sort of thing. Because of course the average West German citizen needed to know the weather conditions along the IGB at all times. Apparently the paint scheme was their way of saying to the world "We're not a spy plane, honest!"

Anyway, as soon as I saw it I knew that I had to make one:


I've used an ancient Citadel Blood Angels Orange from the 1990s for the main colour. Not sure how I'll ever get to use it in a game but it looks good. At some point I'll add a proper flight stand rather than permanently resting it on a paint pot.

I've got a few other random things in the pipeline before I get started on this year's army building, ready for the campaign season.


Friday, 24 November 2023

A Colonial Endeavour

 Last Saturday I journeyed across the Misty Mountains (well, drove over the Snake Pass) to meet up with m'colleague Neil. We fancied something a little different so decided to play a game of Maurice but set during the AWI/Revolution rather than our 7YW campaign. This would give Neil a chance to field his US Colonial infantry with a few natives in support. I would command a mixed force of mostly English regiments along with the 43rd Highland Regiment, a Hessian line battalion and Jaeger battalion and an irregular native American unit.

The battlefield, with my British army on the left.

I lined up in a chequerboard fashion, with my line infantry split into two brigades of 3 battalions separated by my 2 cavalry regiments and guns. My irregular units held my right flank. I deployed in column whereas Neil started in line.


My columns advanced forward and then deployed into line. At this point I realised that I had made a rookie error in that, once my infantry were in line, they blocked my artillery guns' line of sight. In addition, one of my Notables was attached to the guns and added a +1 to hit so one of my most powerful wings had been neutralised by my ill thought out set up.

The armies prepare for the clash of musketry.


My left flank infantry brigade advances.

On the right my irregular units seek to anchor the line.

As the opposing armies closed to musket range I had the upper hand in the opening engagements in the centre, with a rebel infantry battalion sent scurrying off the field. However, my Native American regiment got caught in a one sided firefight with a regular US regiment and melted away under a hail if lead shot. Neil now sent 2 battalions over the hill to threaten the right of my centre.


On my left Neil had, by clever use of his Event cards, sent his cavalry on a long flanking march. My left infantry brigade pivoted to their left to oppose the threat to their flank. This effectively pinned them in place taking them out of the battle for a crucial period.

The crucial central firefight.

After the opening exchange of fire I saw that one of Neil's conscript infantry battalions had a flank exposed. The temptation was too much and my cavalry charged forward. Unfortunately, 18th century cavalry is not the same as heavy cavalry of the Napoleonic era and using them to charge infantry never normally works. And so it proved on this occasion as the fight was inconclusive, with my cavalry forced to pull back. This gamble backfired big time as I now had 2 cavalry regiments getting in the way of my left infantry brigade as they tried to wheel and join the attack on the centre.

Neil continued his cavalry flanking march, eventually charging and destroying my artillery. Meanwhile my centre infantry brigade came under fire from enemy to their front and right as Neil pushed on down the hill to take their flank. My cavalry charged again, with little effect again. With the rest of my infantry blocked by the cavalry getting in the way my centre crumbled and my army morale was reduced to zero, giving Neil the field.

Final positions, showing my messy deployment as my infantry struggle to get into a cohesive firing line, my cavalry trying to deploy to counter Neil's cavalry without getting hit in the flank by volleys of musketry and Neil's infantry advancing in a workmanlike manner.

A victory for the rebellious colonies then but an enjoyable game throughout. The battle seesawed as these games often do and I had my opportunities to win the game. It did provide a lesson in how to fight 18th century games, particularly using Maurice. For all the glamour and appeal of cavalry charges, it is the infantry who win the day. Had I kept my cavalry back and used them to oppose Neil's cavalry, I would have been able to get my left infantry brigade into the action in the centre, where they could have outnumbered Neil's infantry regiments in turn and defeated them one by one.

Still, unlike my PBI, we live and learn. Plus the game has given me an idea for a conversion for a Notable Hessian mercenary a la Sleepy Hollow.


Monday, 18 September 2023

The Battle of the Mainz-Mannheim Salient: CWC Big Game Day 2

 After a pleasant night of curry and beer followed by a distinctly less night at the Crown Hotel, day 2 of the big gaming weekend started with the Irish and American forces now on the centre table, attempting to capture the airbase in order to cut off the Soviet supply route into the salient. The airbase was defended by a contingent of VDV troops. Other Soviet forces were rushing to engage with the attacking NATO force and stop the airport falling.

Irish troops assault the airport.

On the southern table our West German forces had been making progress but not fast enough. We had to get a move on in order to be able to assist the attack on the centre table. My left flank infantry company advanced forward on foot and into the woods. If the Soviet tank battalion came forward they could defend my left flank with Panzerfausts. If not, they could press on and perhaps close assault the troops to their front.


On my right flank my infantry pushed forward towards the Soviet troops holding the field in the centre of the table. That group had been a thorn for most of the first day, threatening both mine and Martin's flanks stopping any forward movement.

On my right, Martin suffered from a particularly devastating airstrike from a SU-25 Frogfoot and his forces getting whittled down. His opponent Steward though was also getting hammered in the battle of attrition.


At the end of day 1, we had managed 5 full turns and NATO turn 6. By the end of turn 8, the weight of fire from Martin's West Germans and a decent strafing run from a pair of F104G Starfighters finally told and Stewart's Motor Rifle Regiment was broken. He failed his morale check and his troops quit the battlefield.

That left me to try and break through the remaining troops of Mark's tank regiment.


Leopard 2s drive forward.


I knew that Mark had troops hidden in the woods and behind a hedgerow. By pushing the panzers forwards I hoped to provoke some fire from Mark's hidden units, thereby exposing them to return fire from my artillery and aircraft. Mark's ability to successfully keep calling in air support from SU-25 Frogfoots (Frogfeet?) and Mil-24 Hind E's plus artillery took its toll on my Leopard 2s but finally at then end of NATO turn 9 Mark's tank regiment was broken. Rather than attempt to play on Mark offered his sword and the game was over.

A tactical victory for the West Germans but Mark and Stewart had successfully held up our advance well into Day 2, preventing us from having any influence on events in the centre table.

We managed to keep the game rattling along and a fun time was had by all. There are notable changes from 1st to 2nd edition. The improvements to Soviet FAO & FAC command values mean that far more attacks come from the skies. The HIND E is particularly nasty. Luckily the Leopard 2 has had a serious upgrade and can take some real punishment while still dishing it out.


A few pictures of the Irish and American advance on Day 2. From what I could see the opposing troops got stuck right in and there seemed to be a lot of point of bayonet action. I think that the centre table managed 5 or 6 turns on day 2 and it was decided that the Soviet troops would have not held on much longer before breaking. All in all then a NATO victory, a rarity in these big games. Even less common is a decisive result. We kept force sizes down to 6,000 points per NATO player and a brigade sized force for each Soviet player. That seems to give us enough to have a good sized game without getting too bogged down.

Big thanks to Mark, Stewart and Martin for a fun weekend of gaming, played in the right spirit of gentlemanly competitiveness. Cheers to the other chaps for a fun weekend. As ever, many thanks to Richard Phillips for organising and hosting the weekend and keeping us all fed and watered. I know that Mr P has already had some ideas for next year's game and it looks like it's going to be a corker!

Saturday, 16 September 2023

Small Scale, Big Game

 This weekend sees the annual Cold War Commanders big game, making its debut at Richard P's own venue The Unit in Stone, Staffordshire. This year there are 8 players and we have been split across two tables. In this year's scenario, set in the CENTAG area of operations, WarPac forces have broken through NATO defences and pushed forward into a salient. NATO have been tasked with counter attacking from North and South to cut off the salient and surround the attacking Soviet and WarPac armies. A third table represents the centre of Soviet held ground and will be used if/when NATO breaks through the Soviet lines.

Table 1 in the north has Nick G's US troops and Neil's Irish brigade attacking Ian W and Simon's Soviets. Table 2 to the south of the salient featured Martin and my West German forces attacking Mark W and Stewart's Soviets.


Table 2, with NATO on the right (south), Soviets on the left (North).

In the first few turns my Leopard 2 companies came face to face with a Soviet T-64 battalion. The greater range and durability of the Leopard 2 made the difference as Mark W's centre battalion was repulsed in short order.


My West Germans press forward.


The Soviet centre opens up as the T-64s come off second best in the long range exchange of fire.


On my left flank a Soviet T-64 battalion has moved forward, blundered, fallen back and then advanced forward again towards a BUA.

At the end of day 1, my West Germans have faced down a Soviet tank brigade (regiment?). 1 battalion has been all but wiped out, another has been badly mauled but the third is unblooded and is on my left flank, threatening to stop any drive forwards. On my right flank, Stewart's Soviet motor rifle regiment have taken up a blocking position in the centre of the table and also threatened to turn the NATO right flank. Martin has shorn up the right flank and has worn down the Soviet forces. Neither of us have the infantry reserves to be able to conduct sustained operations in built up areas.

Tomorrow Martin and I need to figure out a way to quickly push through the remaining Soviet forces and break through to the middle table.

Finally a few photos from table 1 in the north. Here Neil's Irish have held their own against the Soviets and allowed Nick's Americans to attack the Soviets, break them and move across the far table edge. They will thus play across the middle table tomorrow.


Wednesday, 13 September 2023

Panzer Marsch!

 It's the annual Cold War Commanders big gaming weekend this weekend, held for the first time at Richard P's own venue, The Unit in Stone, Staffordshire. I've been getting a few units ready for the event.

Last year I was asked to put together a recce battalion for a game. I liked that unit so it has now been stood up as a permanent formation:


The first company is 2 platoons of foot scouts and a Milan team, transported in a pair of Fuchs. I've used arrow headed bases for the vehicles to denote recce, a useful convention on a busy battlefield as well as pleasing to the eye.


Next company is 3 Luchs with a Leopard 1 in support.


The final heavy recon company consists of 4 Leopard 1. These will be classed as Recce Support. Apologies for the poor photos, the light conditions aren't that great. It was fun deploying the company in full though I can't see that happening too often. 3 HQs may be a bit of overkill but the intention was to help the battalion cover as much ground as possible.

For the last 10 years I have been using these Leopard 2s:

Most of our games have been set in 1985 though and I keep getting told that these are 2A5 and so not available for '85.

I decided that it was time to replace them so I now have a new battalion of Leopard 2A3 or A4.

I've taken the time to add Balkan Crosses to all of them though they are hardly visible on the gaming table. I know they're there though.

Finally for now and not for this game we have these:


I'd watched a Tank Chat on YouTube about the Scimitar 2 and seen an example on a recent visit to the Tank Museum so decided to have a bash making some. They are a simple conversion of a Striker hull filed down a bit with a Scimitar turret added - the real things are basically the same conversion with a Spartan hull mated to a Scimitar turret. In real life they've seen action in Afghanistan, are deployed as part of the NATO "tripwire" in the Baltic States and I believe that some are on the way to Ukraine. Not sure when my lads will see any action but they were a fun little conversion. I can't help wondering how their performance compares to the Ajax; not seen any reports of anyone developing tinnitus after riding around in one of these.

Next up shall be an AAR from The Unit. Looking forward to it now.

Thursday, 31 August 2023

Eye In The Sky

 A few years ago I bought a 1/288 Antonov AN-72P kit:


I've been thinking that I really ought to get it assembled but seeing Richard Phillips' expanding air armada take shape (see coldwarcommanders.blogspot.com) has inspired me to get moving.

The AN-72P is a patrol version so has a few underwing hardpoints for bombs or rockets (as shown in the box illustration) as well as a 12.7mm gun pod on the starboard side:


Originally I thought that I had been given the wrong kit as there was no sign of weaponry. Looking at the pictures in the instructions though it looks as though they have just stuck a standard AN-72 kit into a different box and called it the patrol version. I've created a gun pod by filing down a bit of sprue and adding a stub of paper clip for a gun barrel. Not quite the right shape but close enough. I also added a couple of rocket pods from the H&R Soviet aircraft weapons pack donated by m'colleague Neil.

In terms of colour scheme, based on the box art I assumed that it was a maritime reconnaissance plane so planned on a basic grey. A bit of research though showed that they are more for border patrols and some of the paint schemes are quite garish for an aircraft:


Anyway, without further ado, the finished product:


The kit comes with a little stand which is helpful as I never thought to weight the nose so it tips backwards. The kit was very rough and not easy to assemble but overall I'm pleased with the finished product. The hole for the little stand can also be used for a flight stand. I'll have to think up some rules for use in CWC. I don't think that it would worry a NATO armoured column but would be effective in some sort of irregular/ bush war. I have read of Canberras getting fitted with rockets and guns for ground strafing in Vietnam, Rhodesia and India-Pakistan so there's a precedent.